Strato UNIX Root Server
Version 2: Solaris 10
Before installing Solaris to the physical disk you should change the partition type of the 3rd primary partition to be compatible with Solaris. The Linux swap partition is temporary switched to type Linux because of type conflicts (both Solaris and Linux Swap have type 82):
debian# sfdisk --change-id /dev/sda 2 83
debian# sfdisk --change-id /dev/sda 3 82
The Solaris 10/09 (Update 8) x86 DVD image is available for download at the Sun website. Create a new virtual machine and power on VMware Server or Workstation. The VM's graphical display is needed for switching to the serial console only.
debian# vmware
This is how I create the Solaris virtual machine:
- Create a new virtual machine
- Virtual machine configuration: Custom
- I will install the operating system later
- Guest Operating System: Solaris 10 64-bit
- Name: Solaris
- Memory: 1024 MB
- Network Connection: NAT
- Disk: Use a physical disk
- Device: /dev/sda > Usage: Use entire disk
- Finish
Once finished I edit the config again:
- Edit virtual machine settings
- Floppy > Remove
- CD/DVD > Connection > Use ISO image > /root/sol-10-u5-ga-x86-dvd.iso
- Add... > Serial Port > Output to socket > /tmp/vmware-socket > This end is the server > The other end is an application > Finish
- Save
You are now ready to install Solaris. This is the desired hard disk layout:
| Partition | Size in MB | Use | File System |
| c0d0s0 | 1024 | / | UFS |
| c0d0s1 | 1024 | /var | UFS |
| c0d0s3 | 1024 | swap | Swap |
| c0d0s5 | 1024 | /opt | UFS |
| c0d0s6 | 8192 | /usr | UFS |
| c0d0s7 | Rest | /export/home | UFS |
Once the console has switched to the serial port you must open another shell on the Debian host and establish a connection to the named pipe. There are two ways to do that with socat: directly or with minicom. For Solaris with it's interactive installer it is best to use minicom. To save time later minicom is set up now:
debian# minicom -s
- Serial port setup
- A (Serial Device) > /tmp/vmware-pty > ENTER
- E (Bits) > B (57600 8N1) > ENTER
- ENTER- Save setup as dfl
- Exit from Minicom
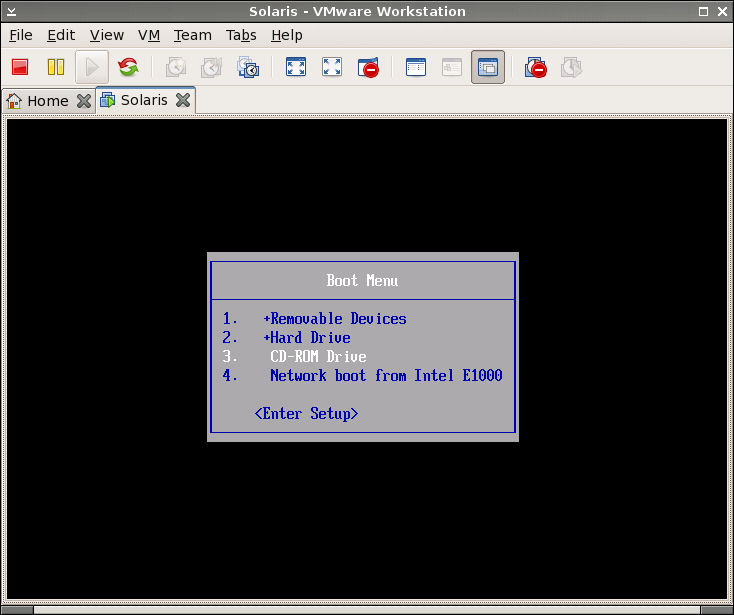
After powering on the machine immediately press ESC and select the CD-Rom drive as the boot device. If you miss this you will boot your native Linux a second time virtually and this is certainly not what you want...
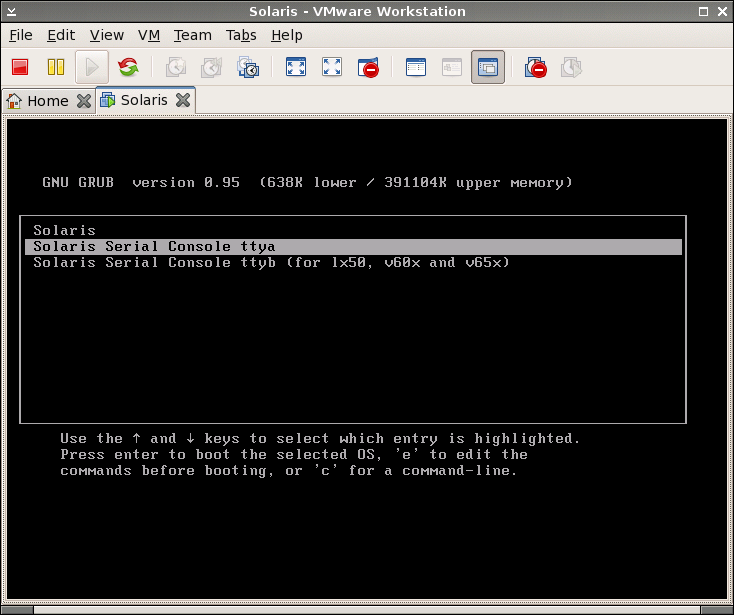
On the Solaris GRUB menu select Solaris Serial Console ttya and press ENTER.
debian# socat unix-connect:/tmp/vmware-socket pty,link=/tmp/vmware-pty &
debian# minicom
Solaris Interactive Installation Part 1: System identification.
All questions not mentioned here are left on default value.
- Enter the number of your choice > 1 (Solaris Interactive)
- Select a language > 0 (English)
- What type of terminal are you using? > 14 (Other) > vt102
- Host name for e1000g0 > h1671829
- IP address for e1000g0 > 172.16.65.101
- Default Route for e1000g0 > Specify one > 172.16.65.2
- Name service > None
- Continents and Oceans > Europe > Germany
Solaris Interactive Installation Part 2: Software installation.
All questions not mentioned here are left on default value.
- Reboot After Installation? > Manual Reboot
- Select Geographic Regions- North America > U.S.A. (UTF-8)
- North America > U.S.A. (en_US.ISO8859-1)- Select System Locale > U.S.A. (en_US.ISO8859-15)
- File System and Disk Layout:/ c1t0d0s0 1027 MB
/var c1t0d0s1 1027 MB
overlap c1t0d0s2 467147 MB
swap c1t0d0s3 1027 MB
/opt c1t0d0s5 1027 MB
/usr c1t0d0s6 8197 MB
/export/home c1t0d0s7 454832 MB
The software installation will take a very long time. The virtual machine will be rebooted at the end and the last config question is to be answered:
- Configure Keyboard Layout > German
Finally the boot loader must be configured to use the serial console:
solaris# vi /boot/grub/menu.lst

	serial --unit=0 --speed=57600
	terminal serial
	...
	kernel /platform/i86pc/multiboot -B console=ttya,ttya-mode="57600,8,n,1,-"
	...
	kernel /boot/multiboot -s -B console=ttya,ttya-mode="57600,8,n,1,-"

solaris# halt
updating /platform/i86pc/boot_archive
syncing file systems... done
Press any key to reboot.
The machine is not powering off so this must been done manually.
Next step is to restore the Master Boot Record with the one provided by Debian and to reboot into Solaris 10 with the physical system. Once the hard disk's MBR is under Debian control again, I add a Solaris boot entry in GRUB's menu.
debian# grub-install /dev/sda
debian# cat >> /boot/grub/menu.lst << MARK

title Solaris 10
rootnoverify (hd0,2)
makeactive
chainloader +1
boot

MARK

debian# perl -pi -e 's/^default.*0$/default\t\t2/' /boot/grub/menu.lst
debian# reboot
When rebooting the physical machine watch the serial console output. The new Solaris entry in the GRUB menu should be selected automatically.
    GNU GRUB  version 0.97  (640K lower / 523200K upper memory)

 +-------------------------------------------------------------------------+
 | Debian GNU/Linux, kernel 2.6.18-6-686                                   |
 | Debian GNU/Linux, kernel 2.6.18-6-686 (single-user mode)                |
 | Solaris 10                                                              |
 |                                                                         |
 |                                                                         |
 |                                                                         |
 |                                                                         |
 |                                                                         |
 |                                                                         |
 |                                                                         |
 |                                                                         |
 |                                                                         |
 +-------------------------------------------------------------------------+
    Use the ^ and v keys to select which entry is highlighted.
    Press enter to boot the selected OS, 'e' to edit the
    commands before booting, or 'c' for a command-line.
When you select Solaris the partition boot record will be executed which in turn holds another GRUB instance, this time the Solaris one. You will probably not be able to boot Solaris directly. Instead choose the failsafe session to re-generate the /devices directory:
    GNU GRUB  version 0.95  (640K lower / 523200K upper memory)

 +-------------------------------------------------------------------------+
 | Solaris 10 11/06 s10x_u3wos_10 X86                                      |
 | Solaris failsafe                                                        |
 |                                                                         |
 |                                                                         |
 |                                                                         |
 |                                                                         |
 |                                                                         |
 |                                                                         |
 |                                                                         |
 |                                                                         |
 |                                                                         |
 |                                                                         |
 +-------------------------------------------------------------------------+
      Use the ^ and v keys to select which entry is highlighted.
      Press enter to boot the selected OS, 'e' to edit the
      commands before booting, or 'c' for a command-line.
There are two things to do now: Fix the boot path and correct the /devices and /dev directories according to the changed physical devices. To do so, mount the /var and /usr file systems and find out the path name of the boot device.
SunOS Release 5.10 Version Generic_141445-09 64-bit
Copyright 1983-2009 Sun Microsystems, Inc.  All rights reserved.
Use is subject to license terms.
Booting to milestone "milestone/single-user:default".
Configuring devices.
Searching for installed OS instances...

Solaris 10 10/09 s10x_u8wos_08a X86 was found on /dev/dsk/c0d0s0.
Do you wish to have it mounted read-write on /a? [y,n,?] y
mounting /dev/dsk/c0d0s0 on /a

Starting shell.
solaris# mount /dev/dsk/c0d0s1 /a/var
solaris# mount /dev/dsk/c0d0s6 /a/usr
solaris# ls -l /dev/dsk/c0d0s0 | cut -f 2 -d '>' | cut -f 4- -d '/'
pci@0,0/pci-ide@12/ide@0/cmdk@0,0:a
Use the eeprom command to change the console to the serial line and to correct the boot path according to the one detected in the step before. Do not forget the slash at the beginning of the boot path! Also, regenerate the /dev directory entries using devfsadm and detect the new /dev names of the hard disk. In my case they changed from c1t0 to c2.
# eeprom -f /a/boot/solaris/bootenv.rc bootpath=/pci@0,0/pci-ide@12/ide@0/cmdk@0,0:a
# eeprom -f /a/boot/solaris/bootenv.rc console=ttya
# eeprom -f /a/boot/solaris/bootenv.rc ttya-mode=57600,8,n,1,-
# touch /a/reconfigure

# chroot /a /sbin/sh
# rm -f /dev/dsk/c*
# devfsadm
# ls /dev/dsk/c*d0s0
/dev/dsk/c2d0s0  /dev/dsk/c3d0s0
While still in the change root environment, correct all entries in the /etc/vfstab according to the new /dev names. Also open the tty definition file and change the baud rate of the console to 57600.
# perl -pi -e 's/c1t0d0/c2d0/g' /etc/vfstab
# TERM=vt100 vi /etc/ttydefs

	console:57600 hupcl opost onlcr:57600::console
	contty:57600 hupcl opost onlcr:57600 sane::contty1

# exit
# umount /a/var
# umount /a/usr
# bootadm update-archive -R /a
Creating boot_archive for /a
updating /a/platform/i86pc/boot_archive
# umount /a
# reboot
If everything went well, you should finally be able to boot into Solaris 10. There will be lots of error messages on the console regarding the missing network interface and the misconfigured name resolution. This will be fixed later. The easiest way to adjust all network parameters is to reconfigure the whole system:
solaris# sys-unconfig
...
Do you want to continue (y/n) ? y
Upon reboot the system is configured as during the initial installation. This time the real network parameters need to be entered, of course.
- Select a Language > 0 (English)
- Select a Locale > 5 (U.S.A. en_US.ISO8859-15)
- What type of terminal are you using? > 14 (Other) > vt102
- Configure Keyboard Layout > German
- Network interfaces > e1000g1
- Host name for e1000g1 > h1671829
- IP Address for e1000g1 > 85.214.91.80
- Default Route for e1000g1 > None
- Name service > None
- Continents and Oceans > Europe > Germany
The system is rebooted one more time. The rest of network configuration is done by editing some config files. Unfortunaltely I have not found any valid way to set the unusual static route at system boot time in Solaris. So I create an init script for doing this manually at boot time.
solaris# echo "85.214.91.80/32" > /etc/hostname.e1000g1

solaris# rm /etc/hostname.e1000g0

solaris# vi /etc/hosts

	        85.214.91.80 h1671829.stratoserver.net h1671829 loghost

solaris# vi /etc/netmasks

                #85.214.91.80 255.255.255.0

solaris# echo "search stratoserver.net" >  /etc/resolv.conf
solaris# echo "nameserver 85.214.7.22" >>  /etc/resolv.conf
solaris# echo "nameserver 81.169.163.106" >>  /etc/resolv.conf
solaris# echo "nameserver 81.169.148.34" >>  /etc/resolv.conf

solaris# vi /etc/nsswitch.conf

                hosts:      files dns

solaris# echo '#/bin/sh' > /etc/rc2.d/S75staticroutes
solaris# echo "route add -host 185.214.64.1 85.214.91.80 -interface" >> /etc/rc2.d/S75staticroutes
solaris# echo "route add default 185.214.64.1" >> /etc/rc2.d/S75staticroutes
solaris# chmod 755 /etc/rc2.d/S75staticroutes

solaris# touch /reconfigure
solaris# rtc -z UTC
solaris# reboot
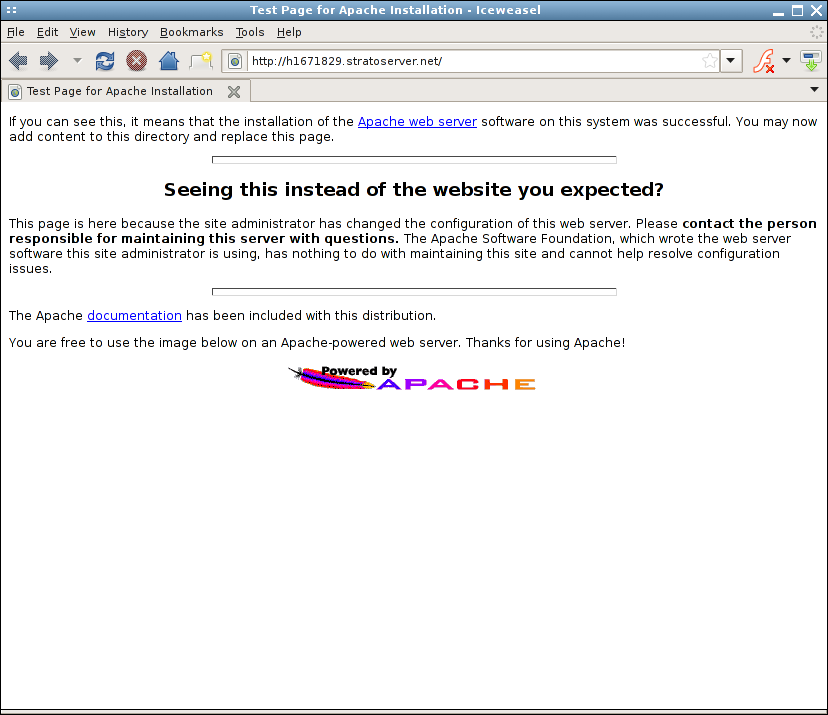
Testing the apache webserver:
solaris# cp /etc/apache2/httpd.conf-example /etc/apache2/httpd.conf
solaris# svcadm -v enable /network/http:apache2
After reboot the system should be reachable over the network.